Erangel
Erangel stands as the iconic, original battleground in PUBG Mobile, offering a classic and strategically diverse experience that has captivated players since the game's early days. This sprawling map is a large island dotted with a mix of dense urban centers, wide-open fields, and dense forests, providing a setting where every match feels unique. Whether you're a seasoned veteran or a new recruit dropping in for the first time, understanding Erangel's landscape and knowing where to find the best gear are the first steps toward securing that elusive Chicken Dinner. This guide will break down the map's key features and analyze its most notable drop locations to help you choose your landing spot wisely.
Understanding Erangel's Geography and Meta
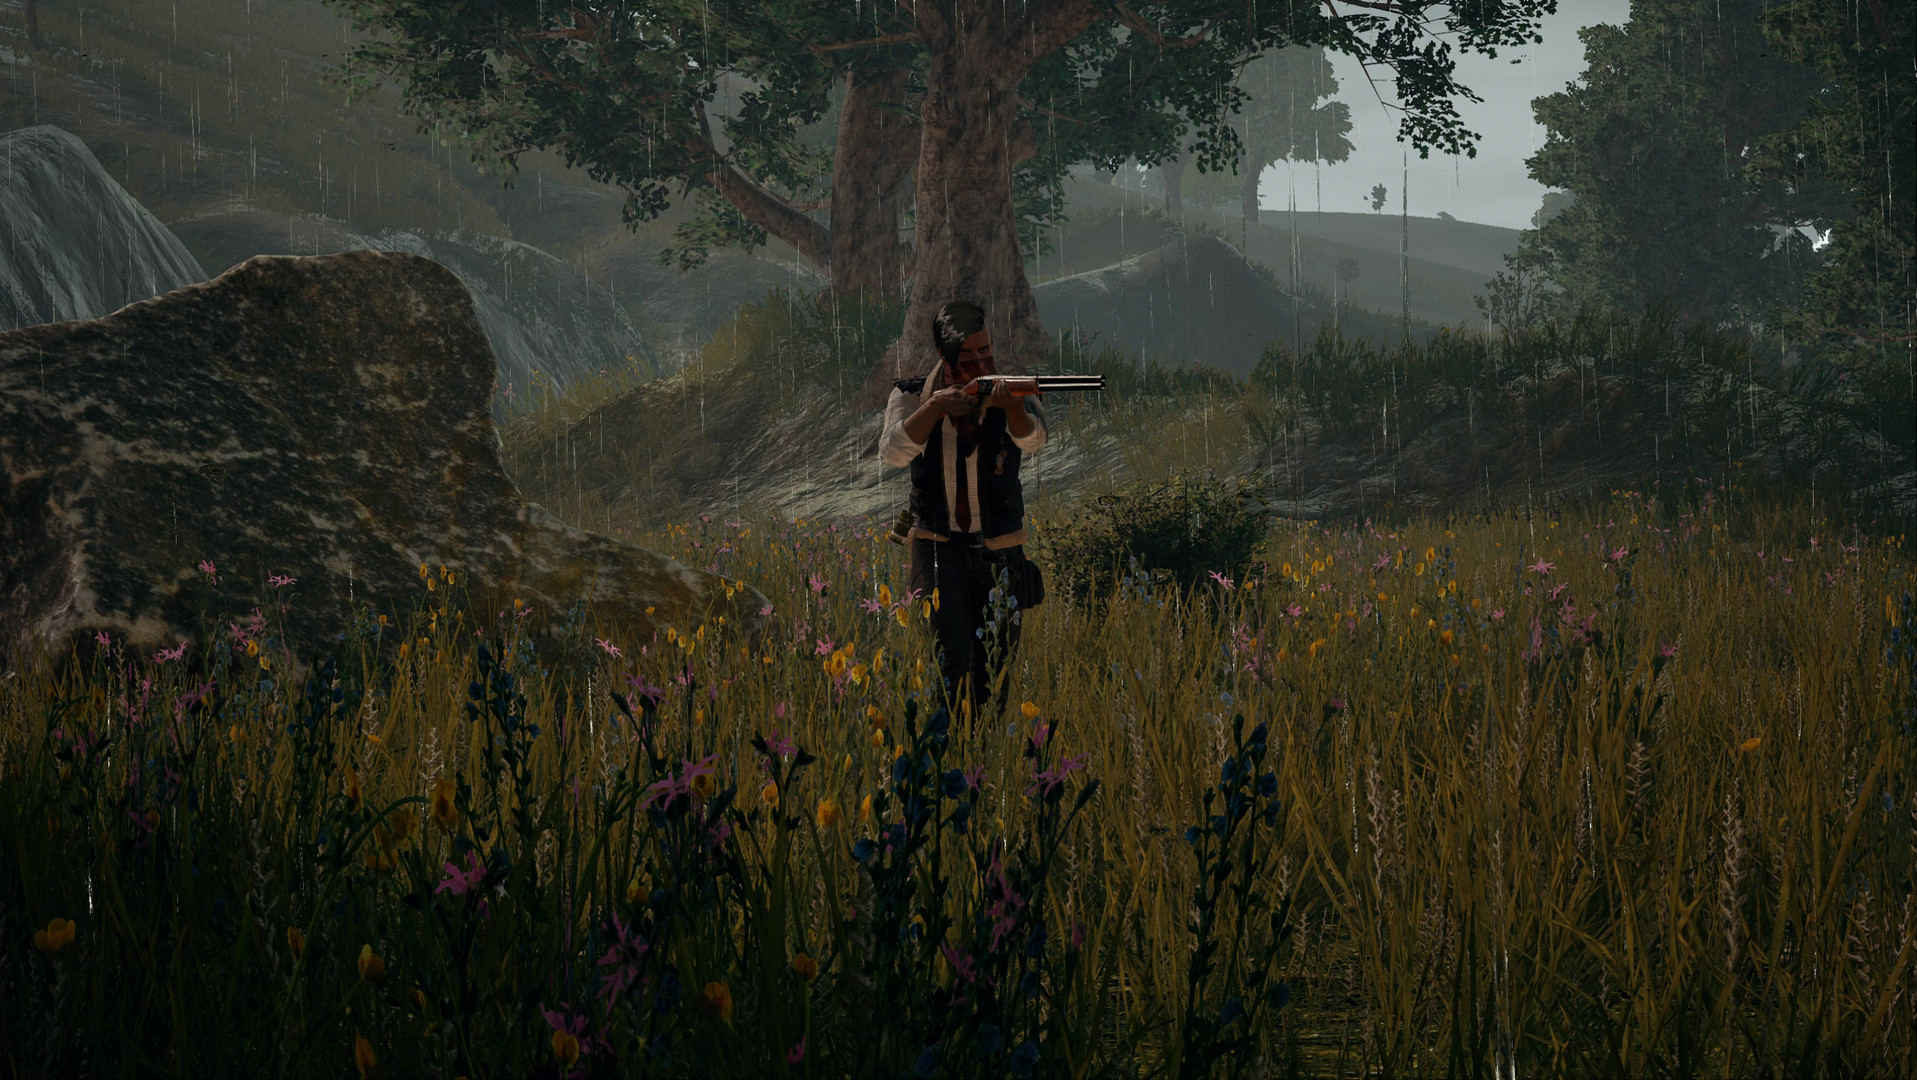
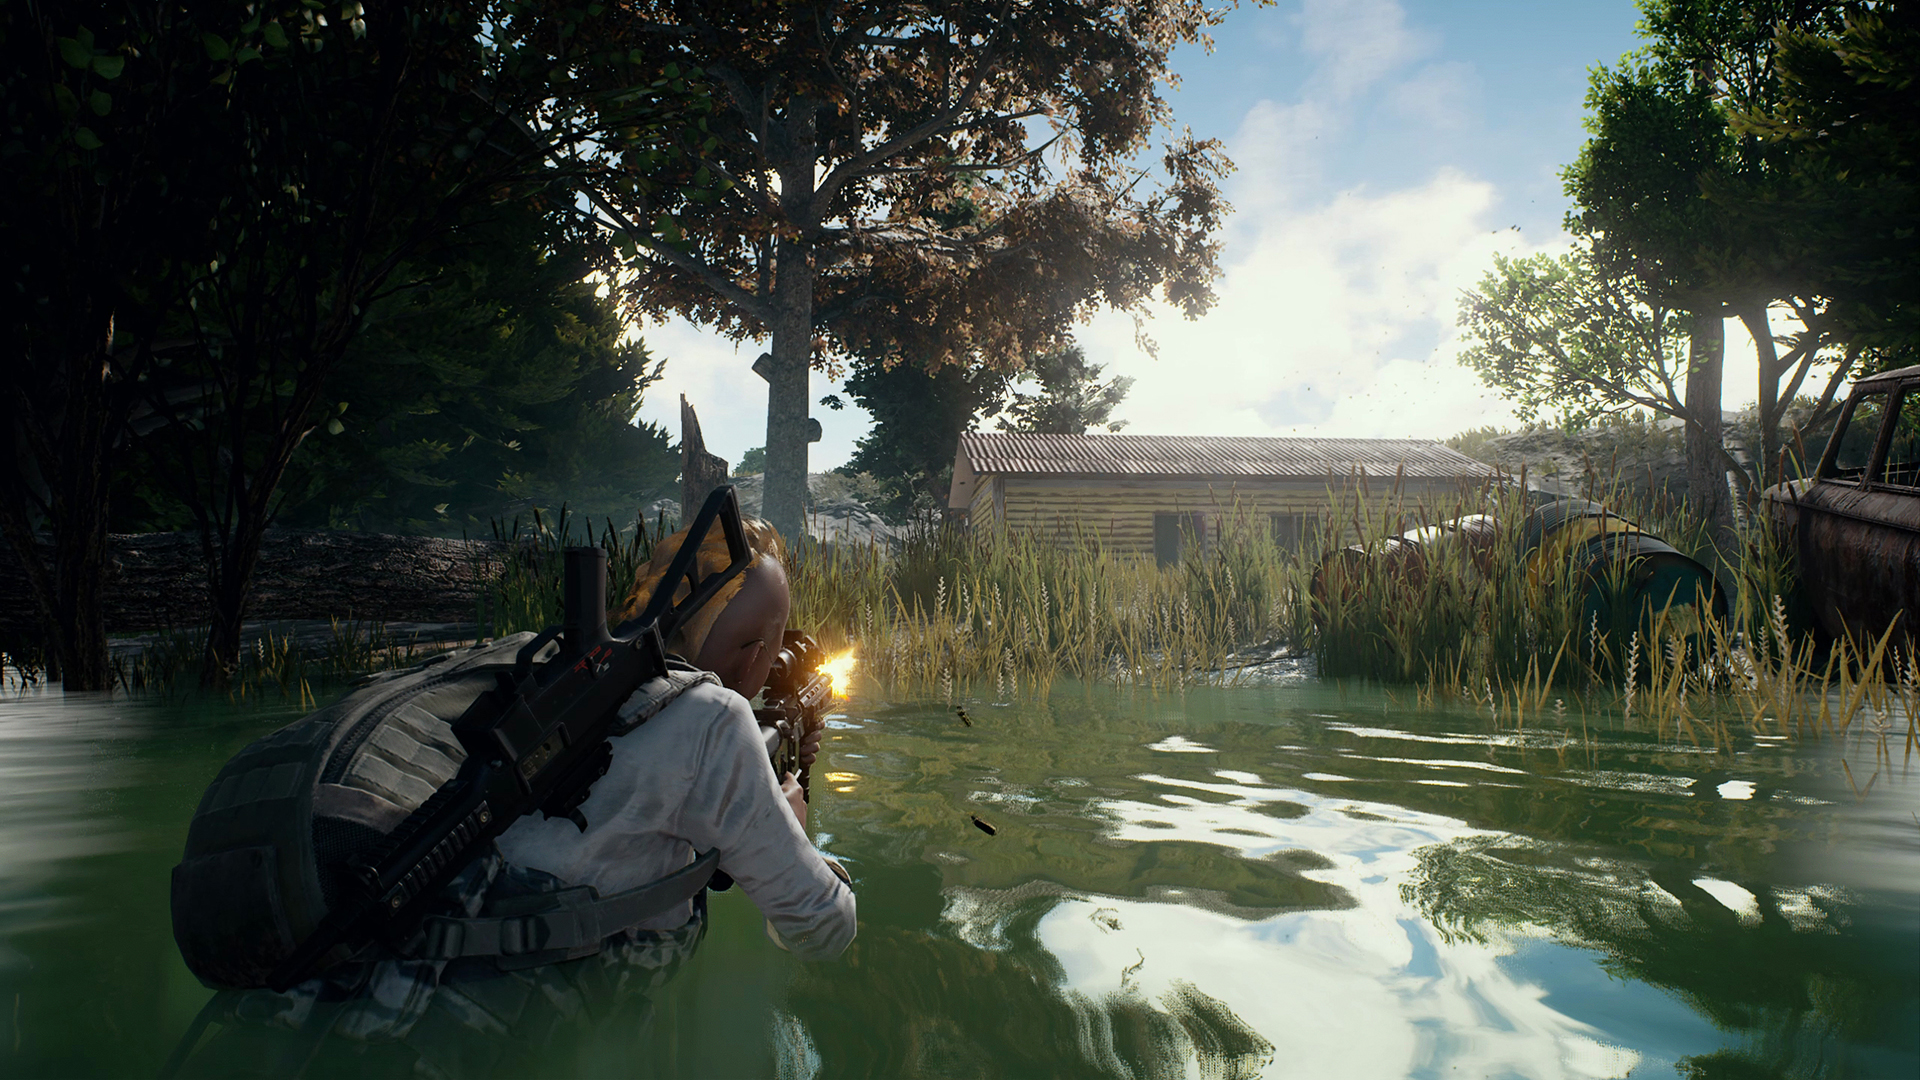
Erangel's design revolves around a central main island with a smaller island situated to its south. The terrain is highly varied, featuring expansive grassy areas, wooded regions, and numerous hills and ridgelines. Scattered across this landscape are a multitude of houses and buildings, many of which are in unmarked locations. These unnamed compounds can be fantastic for quiet, low-risk looting, especially if you prefer to gear up away from the initial chaos of popular spots. The map's size means rotations are a key part of the game, and being mindful of the playzone is crucial. Vehicles are not just convenient but often essential for surviving the mid-game circle shifts, particularly if you land in remote areas.
Detailed Breakdown of Key Drop Locations
Choosing where to land is the most important decision you'll make. It dictates your early-game loot, the likelihood of immediate conflict, and your starting position for the first circle. Here’s a detailed look at some of Erangel's most significant points of interest.
Military Base
Often referred to simply as "Base" or "Sosnovka," the Military Base, located on the southern island, is synonymous with the highest tier of loot. The sprawling complex, particularly the three large buildings arranged in a U-shape, is packed with top-tier assault rifles, sniper rifles, level-three gear, and medical supplies.
- Loot Potential: Extremely High. Almost guaranteed to find the game's best equipment.
- Risk Level: Extremely High. If the flight path passes directly overhead, expect intense, immediate combat. Most squads will be wiped out in the first few minutes here.
- Strategy: If the flight path is far away, consider making the trek by vehicle. This can allow you to loot the base peacefully, but you must be wary of "bridge trolls"—players who camp on the bridges connecting the island to the main land, waiting to ambush you as you leave. Always have an exit plan.
Mylta Power and Small Mylta Power
Situated on the eastern side of the main island, these two industrial zones are a magnet for well-organized squads.
- Mylta Power: The larger of the two, this location offers top-level loot sufficient for a full squad. The main green building and the surrounding warehouses are the primary targets. Its position on the edge of the map often makes it a strategic choice.
- Small Mylta Power: Just to the west of its bigger counterpart lies this smaller plant. It features one main building with very high-quality loot, but in smaller quantities. This makes it an excellent choice for solo and duo players who want great gear without the massive brawl.
- Common Challenge: Landing at either power plant almost always necessitates finding a vehicle quickly, as their remote location usually requires a long drive to reach the first safe zone.
School and Hospital
These two locations represent the heart of Erangel's mid-tier, high-action drops.
- School (and School Apartments): Arguably the most popular and contested drop point on Erangel when it's near the flight path. The school building itself and the adjacent apartment buildings contain huge volumes of loot, but the quality is more mid-level. Dropping here guarantees action, and survival depends heavily on quick reflexes and immediate weapon mastery.
- Hospital: The Hospital offers a similar loot profile—lots of it, but not the absolute best. If it's located directly under the flight path, it can be just as chaotic as School. However, if it's on the far edge of your jump range, it can be a fantastic spot to gear up with less initial pressure.
Georgopol Crates
The industrial port of Georgopol, located in the northwest, is divided by a river. The most lucrative area is the massive shipping container yard north of the mountains and south of the river.
- Loot Density: This area and its surrounding warehouses contain a large amount of very high-quality loot. The containers themselves are stacked, creating a multi-level combat zone.
- Tactical Consideration: Combat among the crates can be tricky, with enemies able to appear from multiple angles and heights. It's often a better bet to land in a nearby compound, secure a vehicle, and drive to the crates if you see the flight path didn't allow others to reach it easily. When looting, be sure to climb on top of the crates, as valuable gear often spawns there.
Other Notable Zones
While the locations above are highlighted in the source material, Erangel is filled with other viable areas. The city of Pochinki is a classic, high-loot urban center that's always popular. Georgopol's city-side offers dense building clusters for street-by-street fighting. The town of Rozhok provides a balanced mix of buildings and is centrally located. For the truly risk-averse, the numerous unnamed house clusters scattered across the map, especially in the southern farmlands, can provide just enough to get started with minimal early conflict.
Strategic Considerations for Success
Beyond just picking a drop spot, success on Erangel requires adaptability.
- Vehicle Management: Always keep an eye out for vehicles, especially UAZs and Dacias. They are lifelines for rotating from remote locations or escaping the blue zone.
- Bridge Awareness: If you are on either of the small islands (Military Base or the Sosnovka area), be extremely cautious when crossing bridges. Assume there might be players camping them, especially in later circles.
- Terrain Utilization: Use the map's hills and tree lines for cover during rotations. Open fields are death traps if you're caught in the open without smoke grenades or a vehicle.
- Circle Prediction: Pay attention to the first circle. If it pulls to the far side of the map, looting quickly and finding transport is more important than grabbing every last piece of gear.
Summary and Key Takeaways
Erangel is a map of high risk and high reward. Mastering it means understanding the trade-off between loot quality and survival chance.
- For High-Tier Gear & High Risk: Drop at the Military Base or Mylta Power if you are prepared for immediate, intense fights and have a vehicle plan for rotation.
- For High-Volume, Mid-Tier Action: School, Hospital, and Pochinki will give you lots of gear and constant combat. They are excellent for improving your close-quarters skills.
- For Strategic, High-Quality Loot: Georgopol Crates and Small Mylta Power offer great rewards, especially for smaller teams who can approach them tactically.
- For a Quiet Start: Prioritize the many unmarked house clusters across the map to gear up with minimal pressure before moving into the fray.
Your drop choice should match your squad's playstyle and your goals for the match. Sometimes a slow, calculated start leads to a win, while other times embracing the chaos of School is the best way to warm up. Adapt your strategy based on the plane's path, the circle's behavior, and your own confidence level to consistently find success on PUBG Mobile's classic map.