Dust II
Dust II isn't just a map in Counter-Strike—it's a legend. Known in-game as de_dust2, this bomb defusal setting has been the proving ground for generations of players since its debut as the successor to the original Dust. Its reputation is built on near-perfect balance, making it a staple in casual servers and the highest levels of professional competition alike. For Southeast Asian gamers diving into CS2, understanding the timeless flow of Dust II is essential. This guide breaks down the map's layout, key locations, and fundamental tactical concepts to help you navigate its iconic corridors and secure those bomb plants.
A Timeless Battlefield: Map Overview
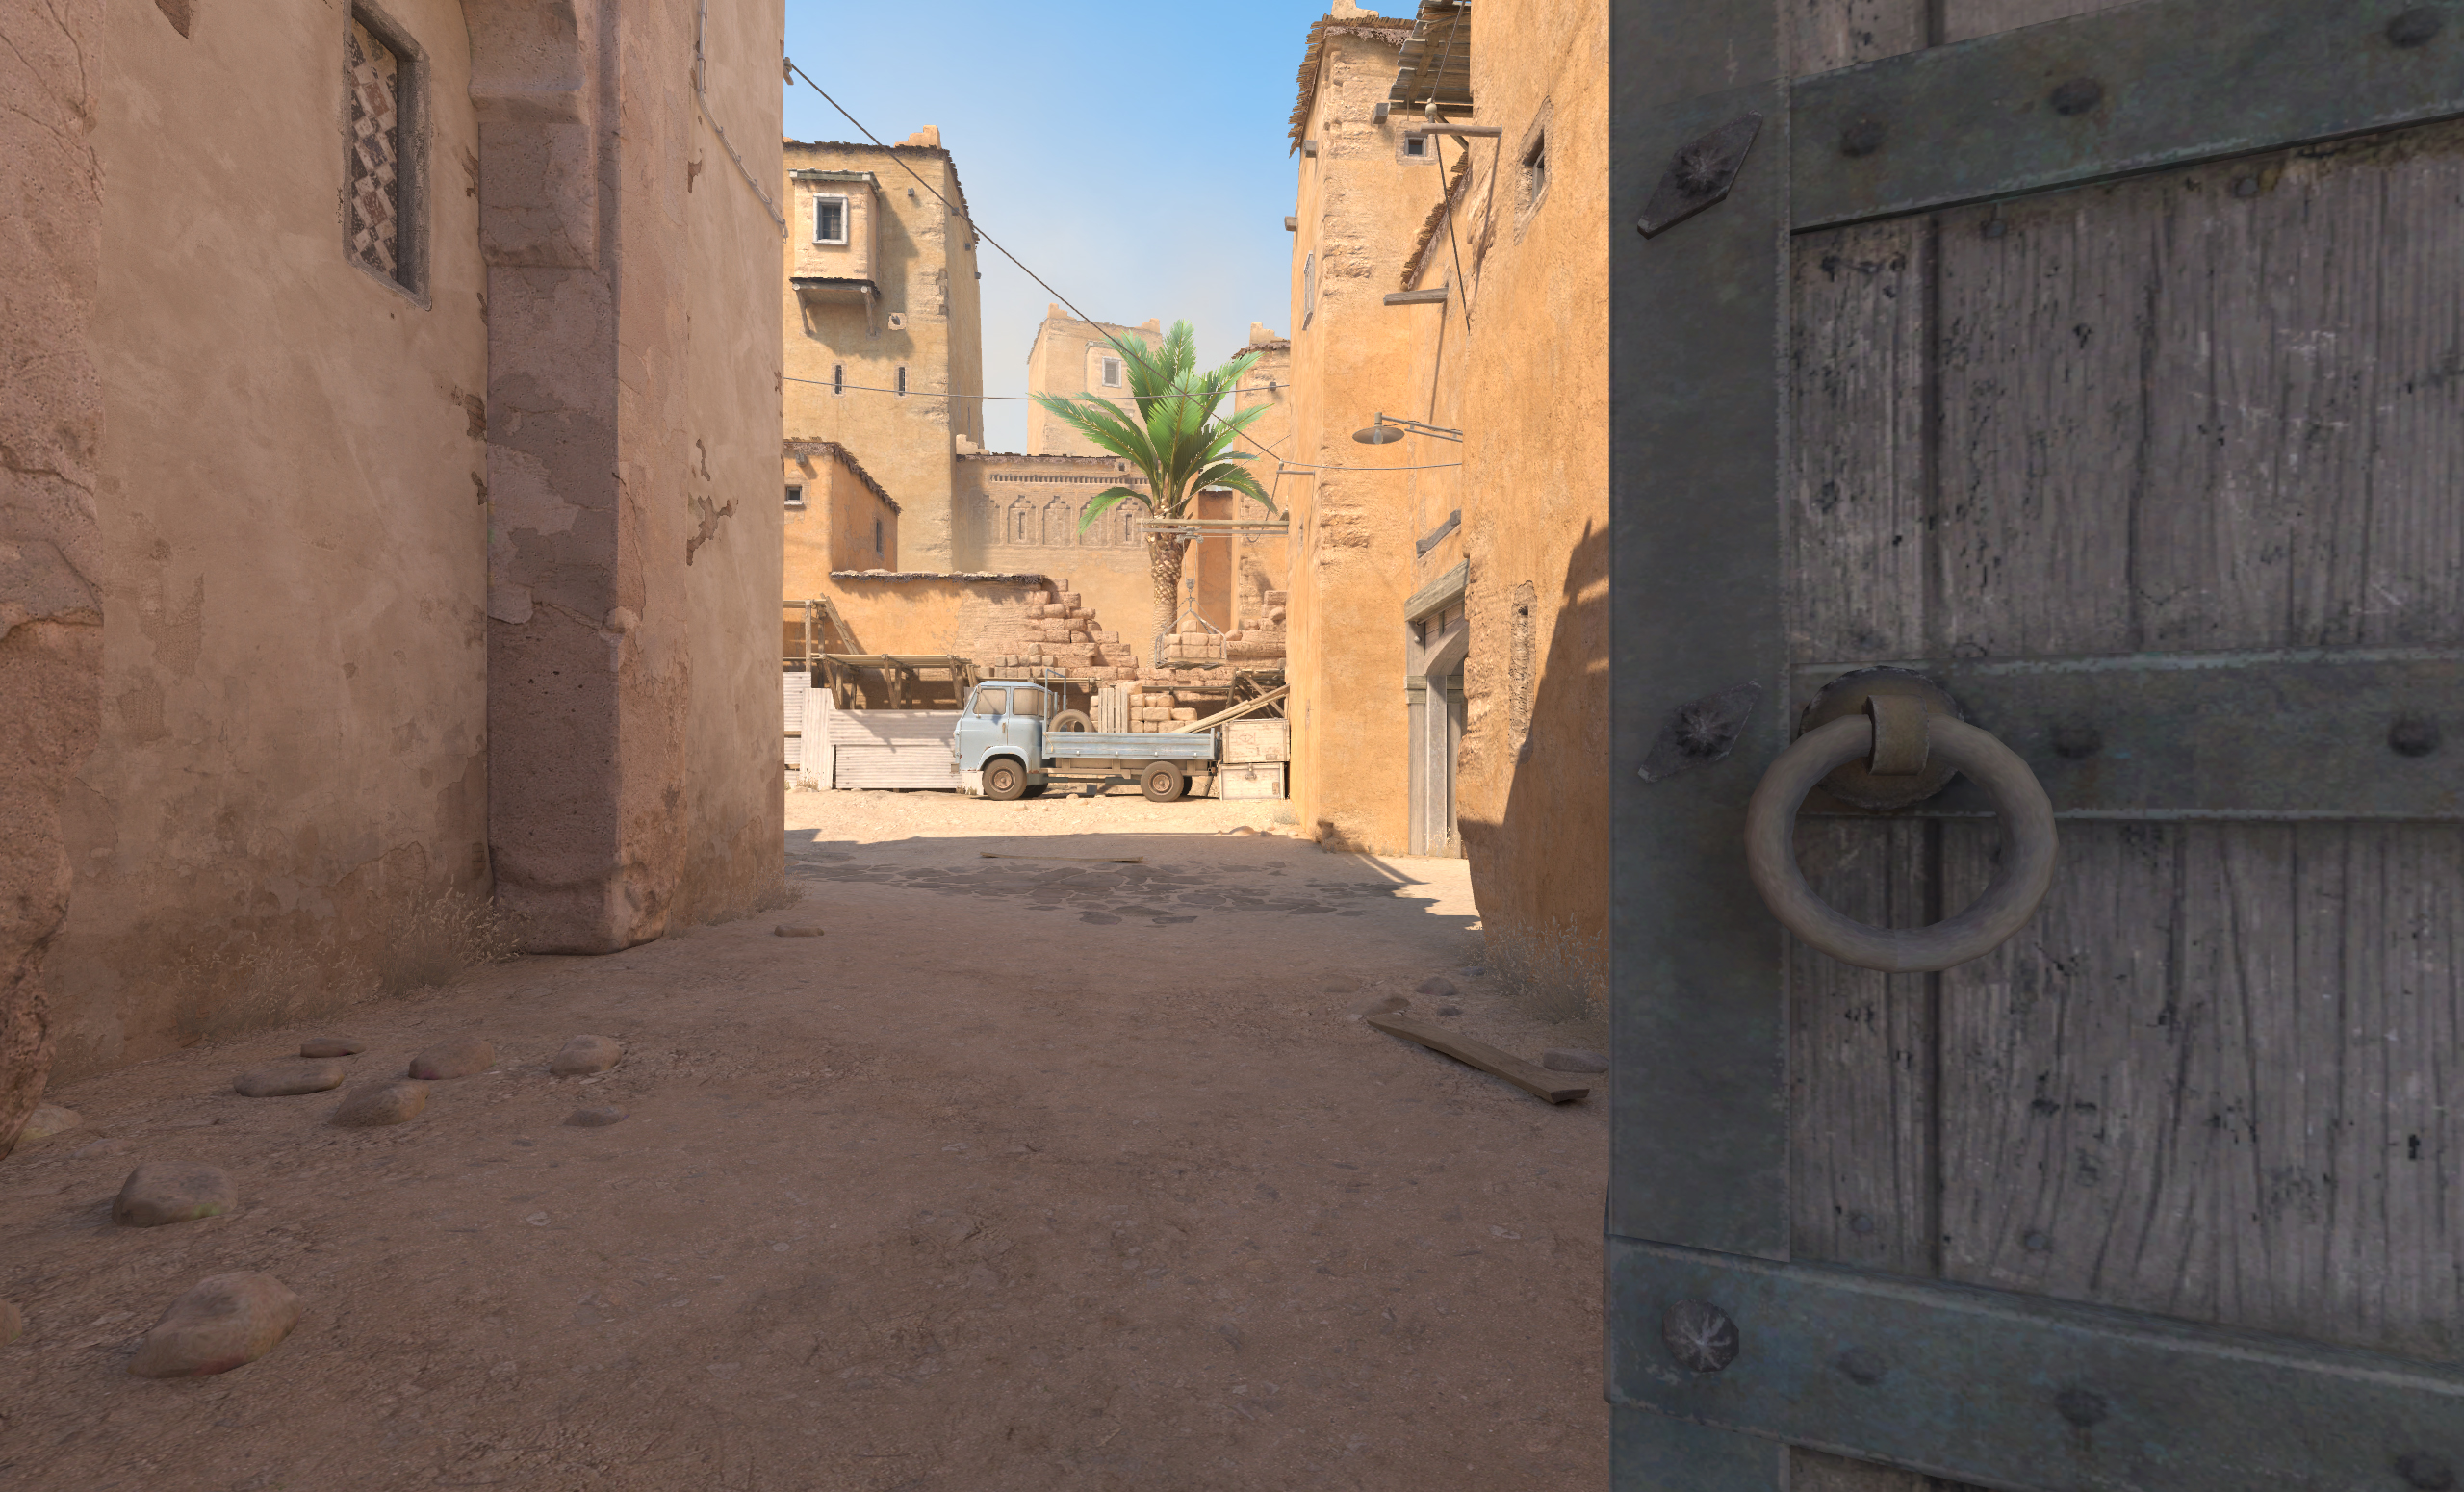
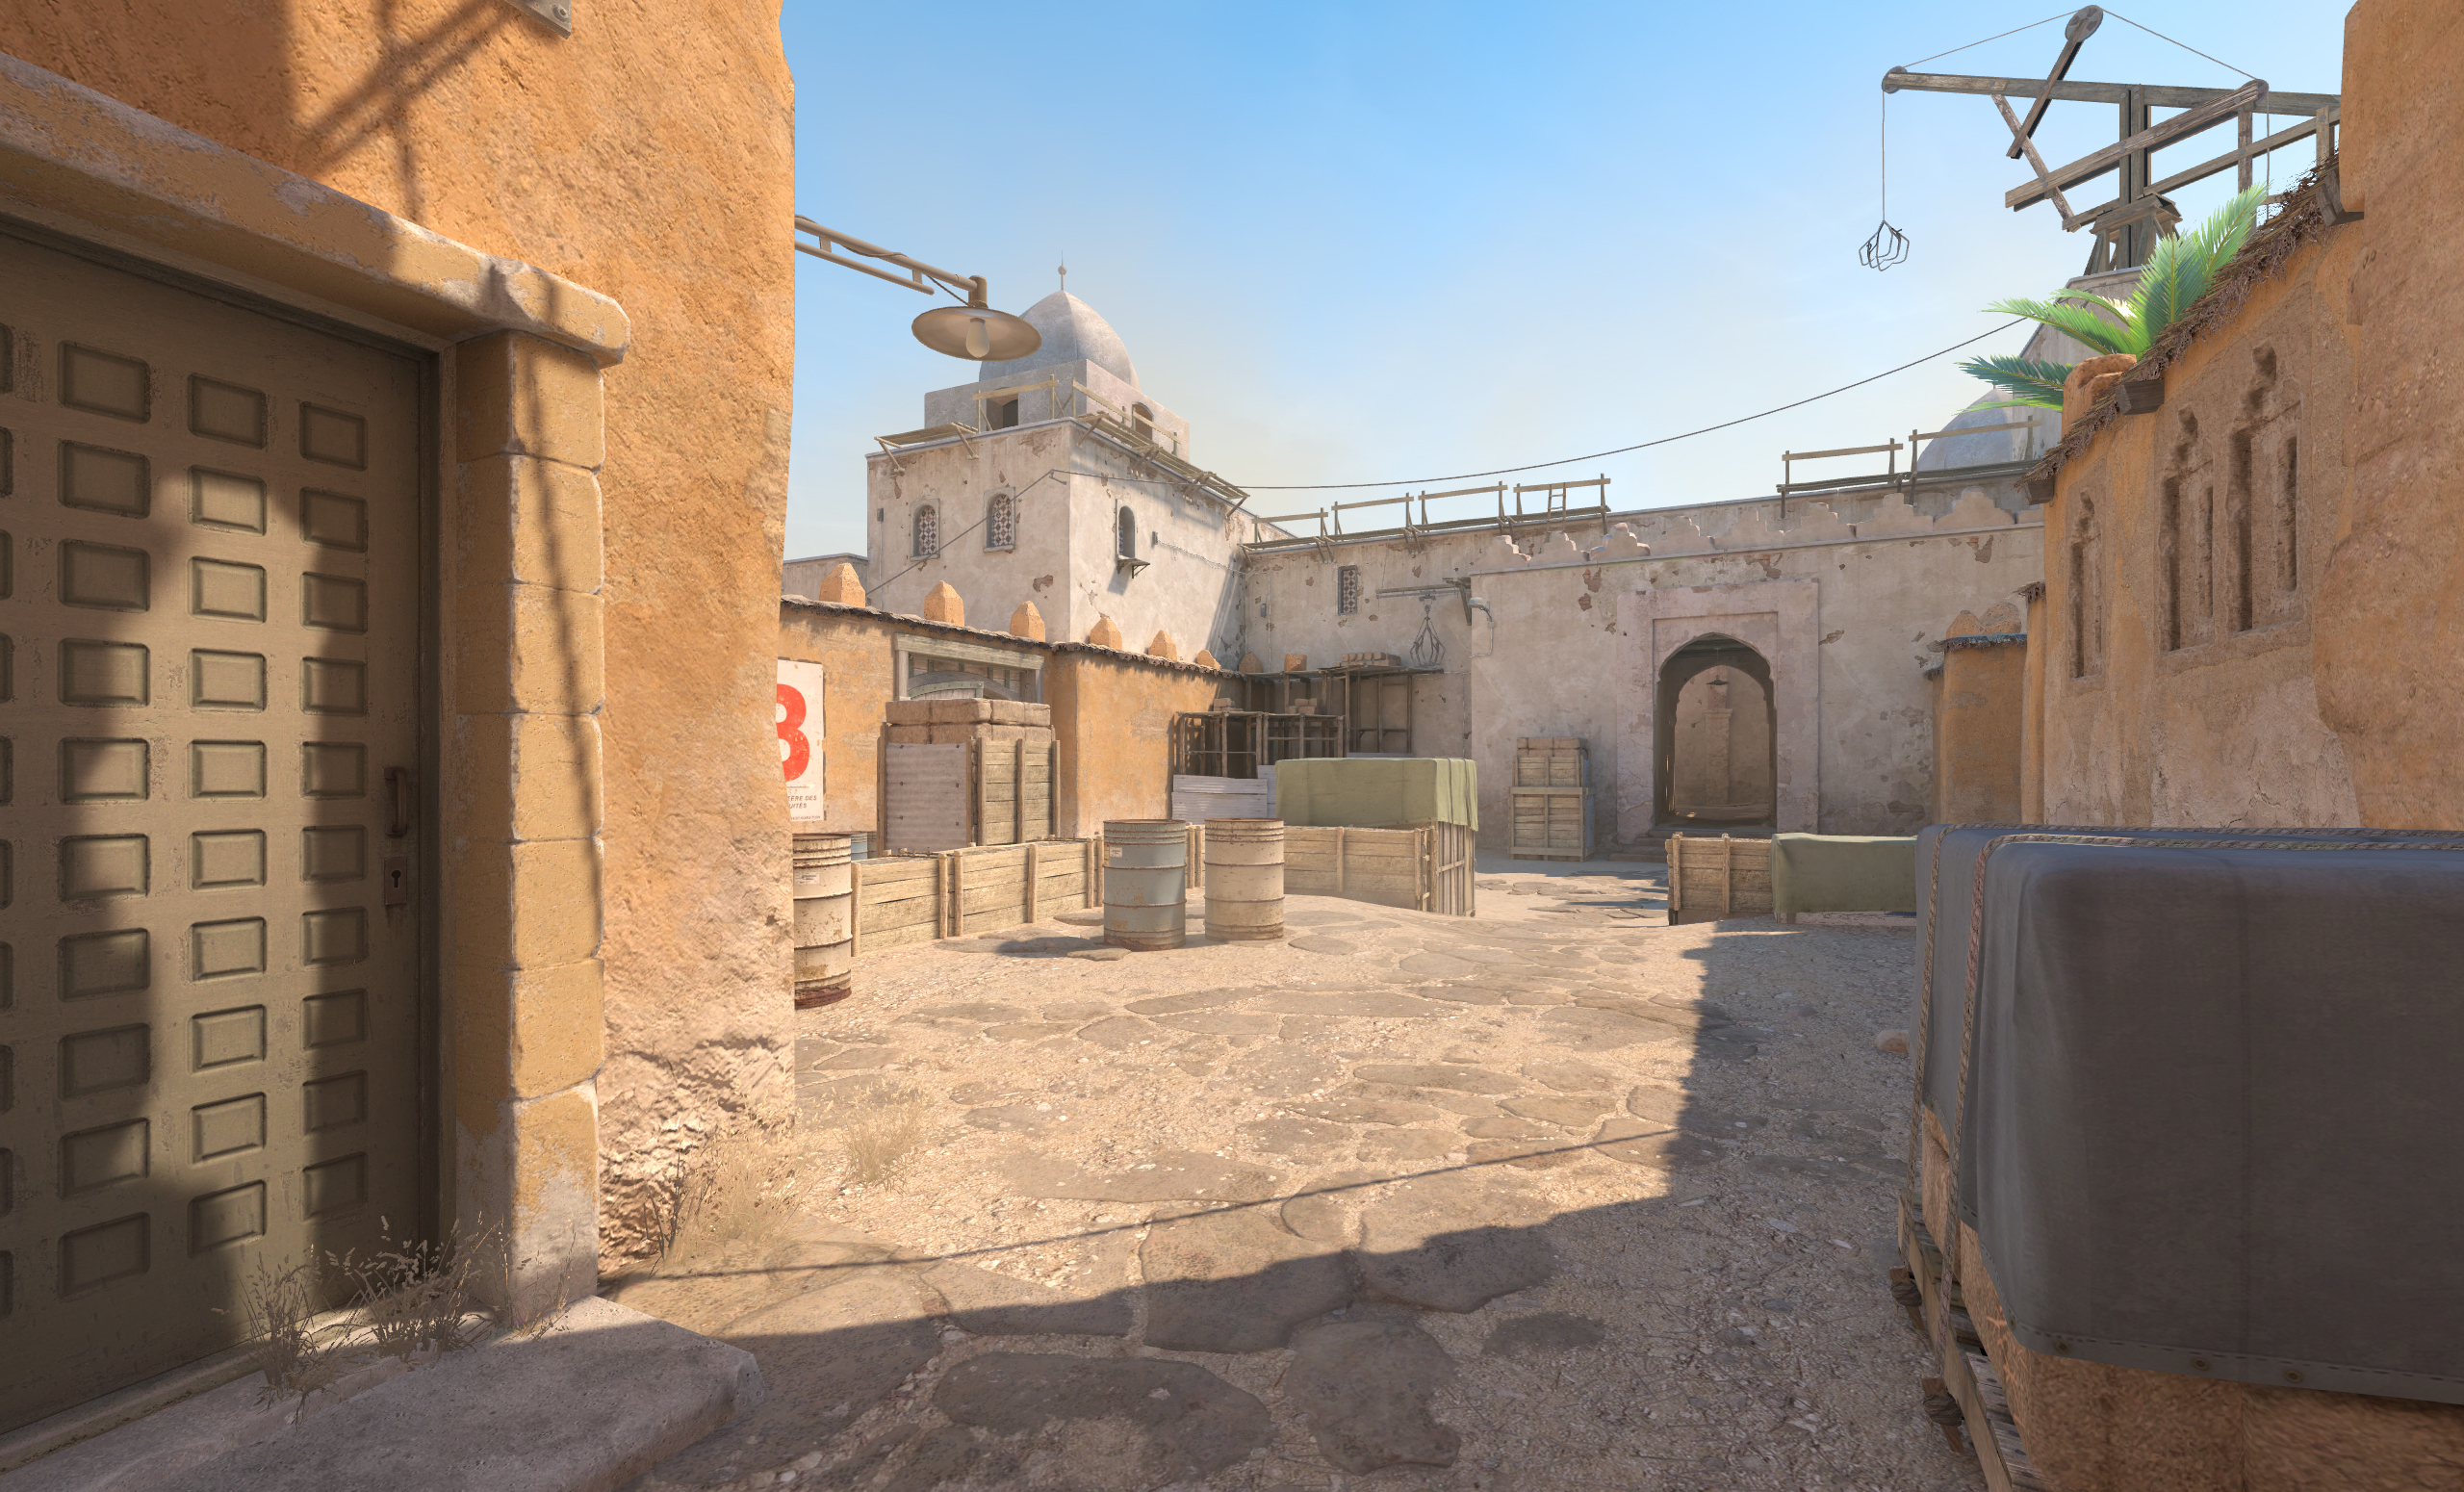
Dust II is set in a sun-scorched environment inspired by Middle Eastern architecture. The visual theme has evolved over the years; the original CS:GO version featured contemporary elements like military Humvees and damaged walls, while the revamped CS2 version reimagines the setting with a distinct Moroccan aesthetic, complete with Islamic architectural details and vibrant market squares.
Structurally, the map is celebrated for its intuitive three-lane design. This clean layout creates clear pathways for attacking and defending, allowing for both straightforward rushes and intricate, layered strategies. The lanes are:
- Long A: A direct route from the Terrorist (T) spawn to Bombsite A.
- Mid: The central channel connecting the T spawn area to the Counter-Terrorist (CT) spawn and providing access to the catwalk.
- B Tunnels: The primary path from T spawn to Bombsite B.
These lanes are interconnected by various pathways, such as the catwalk, short tunnels, and doors, creating a web of rotation routes and flanking opportunities. Mastering Dust II means mastering the transitions between these lanes.
Key Locations and Callouts
Effective communication is vital in CS2, and knowing the standard callouts for each area of Dust II will help your team coordinate. Here’s a breakdown of the major zones.
The Bombsites
- Bombsite A (A Site): A relatively open site accessed from Long A, the catwalk (known as "A Short"), or through CT Spawn. It features distinctive crates and a raised platform (Goose or Default Plant). Defenders often hold from the site itself, the adjacent ramp, or from the CT perspective.
- Bombsite B (B Site): A more enclosed and cluttered site. The main T approach is through the B Tunnels (Upper and Lower), which opens into the site. Defenders can anchor from the site boxes, the back wall, or from the window of the adjacent building (often called "Window" or "Back Plat").
The Lanes and Mid-Map
- Long A / Long Doors: This is the long pathway leading to A Site. The double doors that Ts must pass through to enter Long are a famous early-round engagement point. Winning control of Long is often critical for an A-site execute.
- Mid (Mid Doors): The central artery of the map. The area near T Spawn is often called "Suicide" or "Top Mid" because it is dangerously exposed to CT snipers watching through the infamous mid doors. The path descends towards "Lower Tunnels" and branches off to "Catwalk" (A Short).
- Catwalk (A Short): An elevated pathway connecting Mid to A Site. It provides a powerful flanking route to A and a way to apply pressure without committing to Long.
- B Tunnels (Upper & Lower Tunnels): The primary T-side entry to B. Upper Tunnels connect directly to T Spawn, while Lower Tunnels link the Mid area to B Site. Controlling these tunnels is necessary for a B hit.
- T Spawn & CT Spawn: Terrorists spawn at the top of Mid, granting them quick access to all three lanes. Counter-Terrorists spawn beneath the catwalk, allowing them to rotate quickly to either bombsite through a series of short connectors.
Additional Key Areas
- Pit / A Long Pit: A recessed area on the Long A side, used by CTs as a deep defensive position or by Ts as a post-plant spot.
- CT Ramp / A Ramp: The slope leading from CT Spawn up to A Site. A common defensive position.
- Car: A vehicle parked near B Tunnels, providing cover for Ts or a boost spot.
- Window (B Window): The window in the room adjacent to B Site, offering a strong defensive angle over the site.
- Back Plat (B Back Platform): The raised platform at the back of B Site, often used for planting the bomb safely.
Tactical Considerations for Dust II
The beauty of Dust II lies in its strategic flexibility. There is no single dominant strategy, but understanding core concepts is key.
For Terrorists (Ts)
- Map Control is Crucial: Your goal isn't always to rush a site. Sometimes, taking control of Long A or the B Tunnels without committing to a plant is enough to pressure CTs and force rotations.
- The Mid-Game: Controlling Mid is incredibly powerful. It splits the CT defense, threatens both A and B, and cuts off rotations. Be wary of aggressive CT pushes through mid doors or catwalk.
- Execute Timing: A coordinated team execute involves using smokes and flashes to block off defensive angles before entering a site. For A, this might mean smoking CT Ramp and A Ramp. For B, smoking window and the door from CT spawn is common.
For Counter-Terrorists (CTs)
- Information Gathering: Your early-round setup is about gathering information. A player in Mid can listen for steps in Tunnels or watch for Long activity. A player on A Short can be a valuable info player.
- Defensive Positions: Don't be static. Mix up your positions on the bombsites. One round, you might hold from the site boxes on B; the next, play from Window. This makes you harder to pre-fire or counter.
- Rotation and Support: Dust II is a small map. If your teammates call for help, you can usually rotate quickly. Don't be afraid to play aggressively in Mid or through Tunnels to catch Ts off-guard.
Summary: Key Takeaways
- Iconic Balance: Dust II's three-lane design offers a fair and balanced experience for both attackers and defenders.
- Learn the Callouts: Familiar terms like "Long," "Catwalk," "B Tunnels," "Window," and "Goose" are essential for clear team communication.
- Control the Lanes: The fight for Long A, Mid, and B Tunnels defines the early round. Securing one of these areas grants significant map control and options.
- Flexibility Wins: There is no single best way to play Dust II. Adapt your strategy based on your team's economy, the enemy's tendencies, and the flow of the match.
- Master the Rotations: The interconnected nature of the map means rotations are fast. Be mindful of flanks and always check your corners.