Dust II/Guide
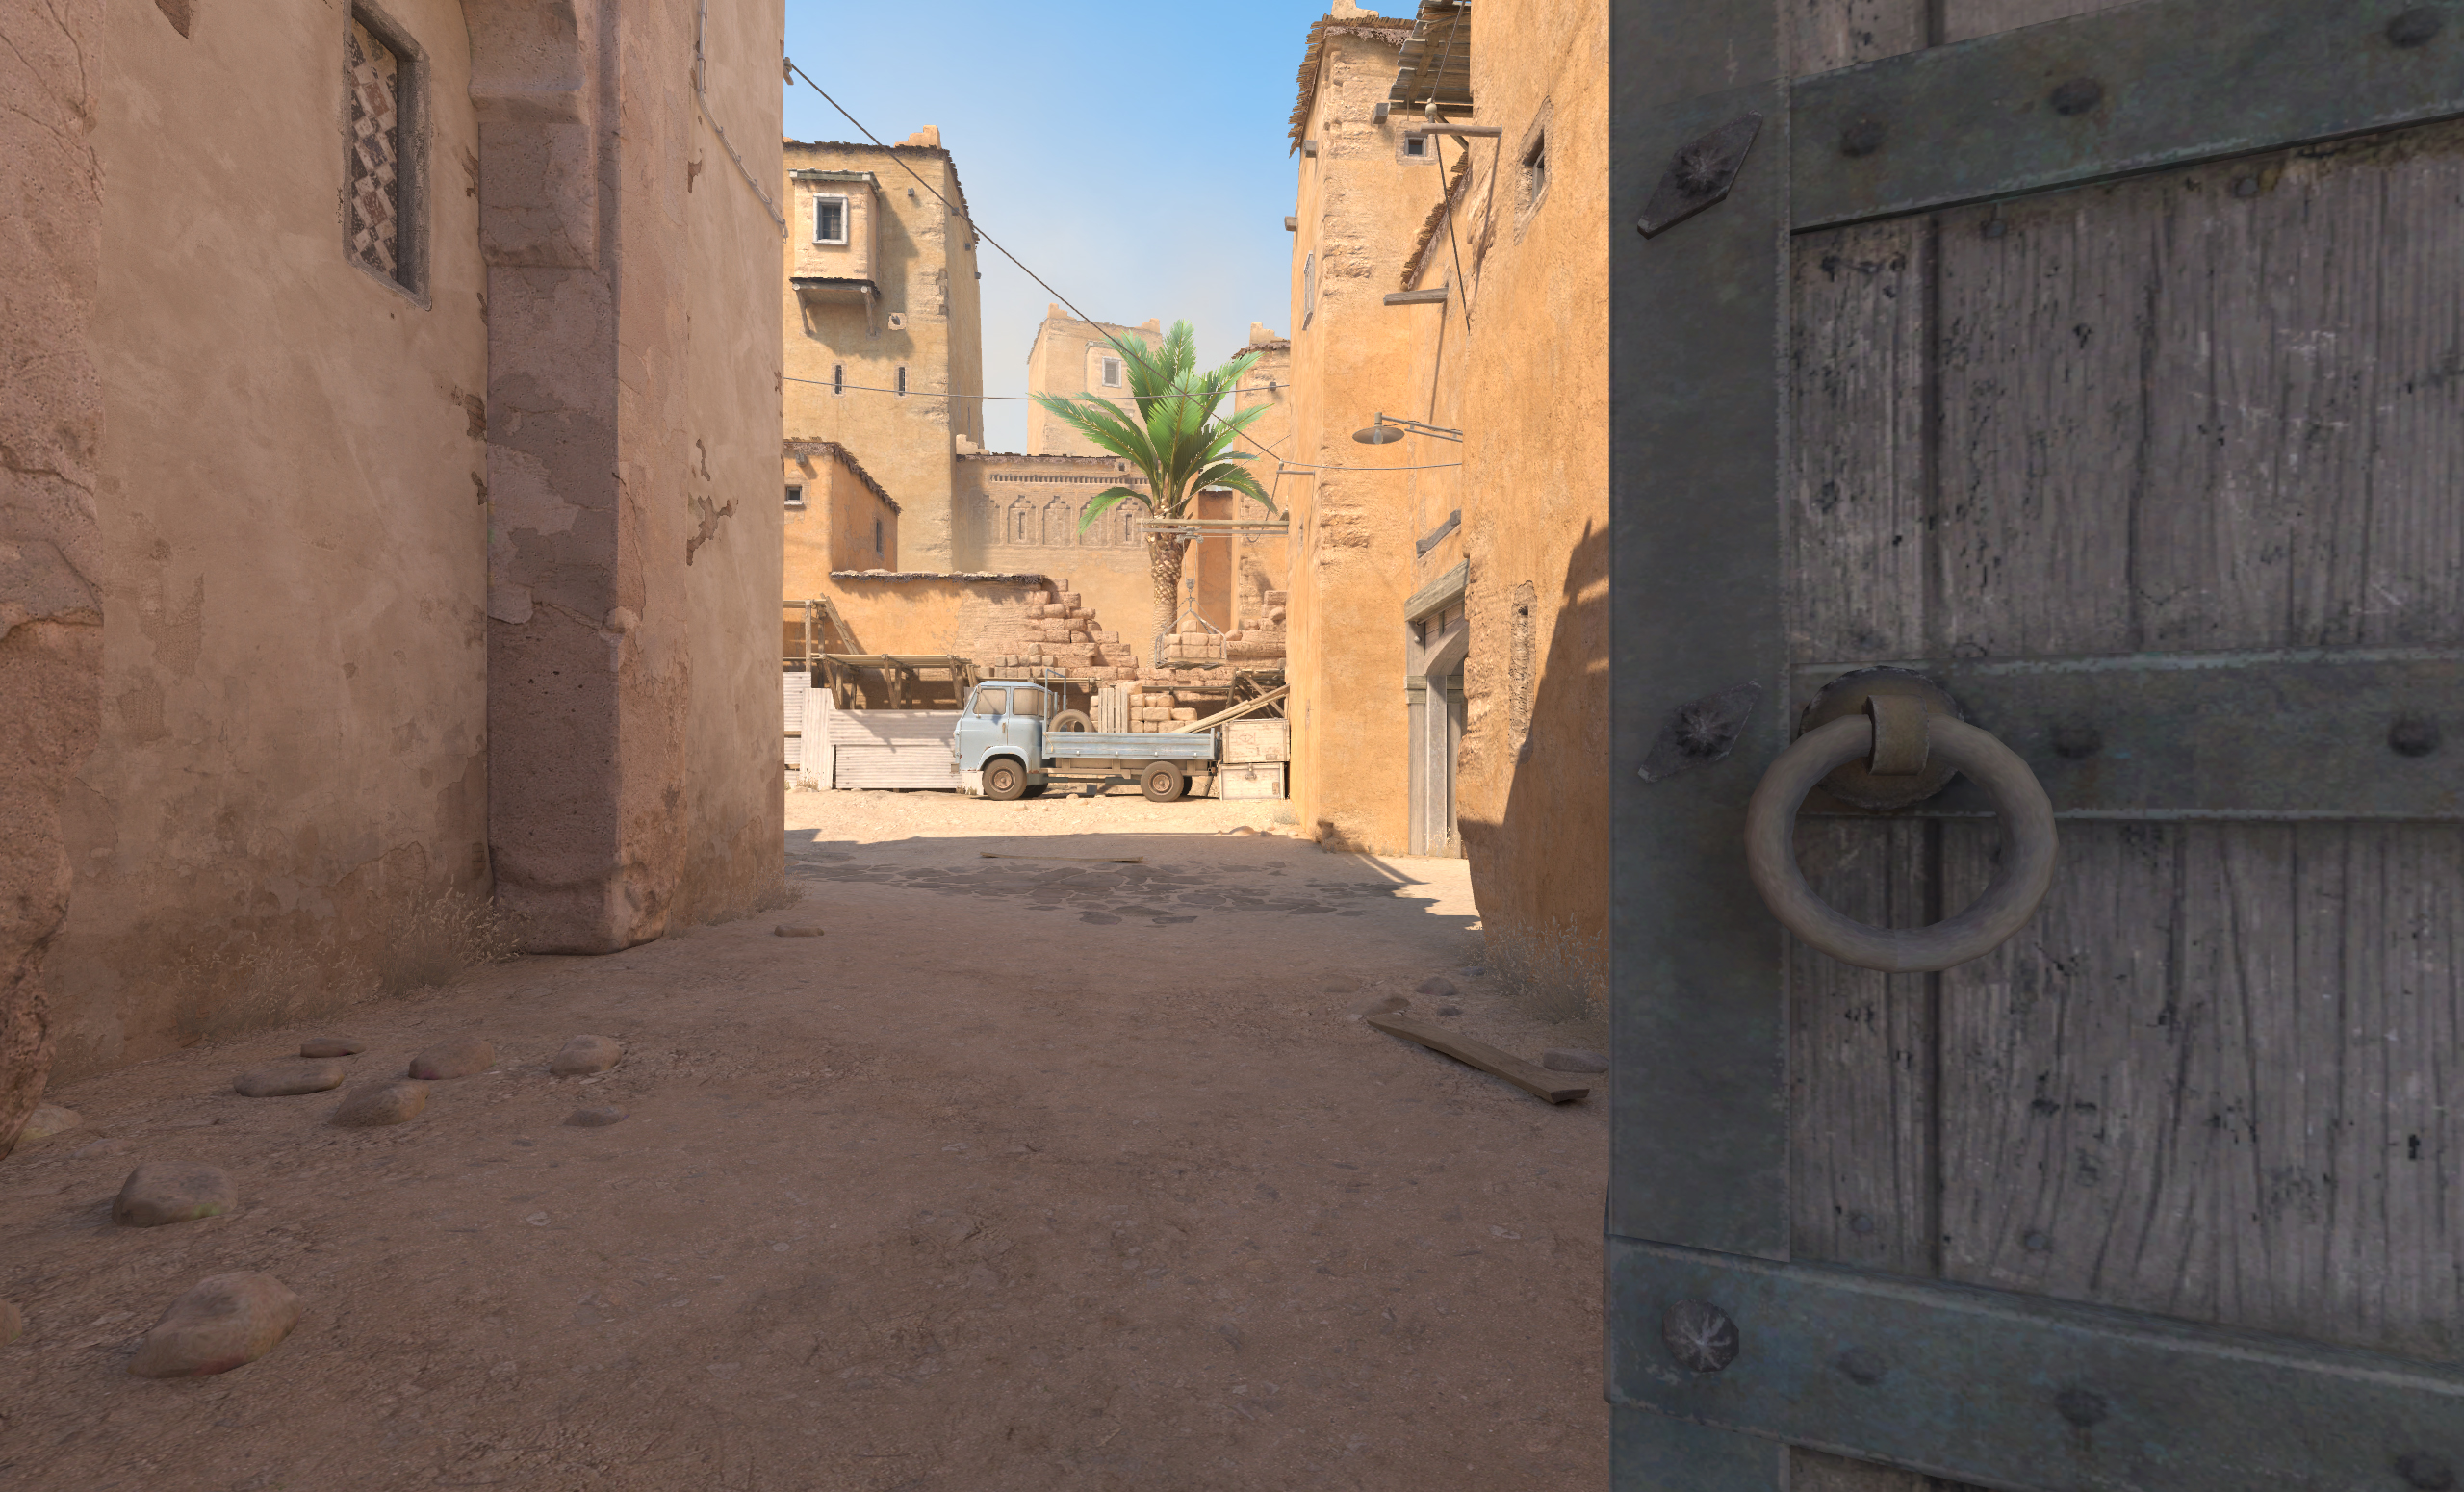
Welcome to your essential guide to one of Counter-Strike's most legendary battlegrounds: Dust II. Known by its classic filename, de_dust2, this map has been a staple of both casual and competitive play across multiple versions of the game. Its straightforward yet strategically deep layout is often hailed as a perfectly balanced arena for bomb defusal. Whether you're a seasoned veteran or a newcomer to the map, understanding its core flow and high-pressure zones is key to dominating the desert landscape.
Understanding Dust II's Design Philosophy
Dust II's design excels at creating clear pathways and intense points of conflict. Its layout facilitates easy traversal for aggressive pushes or careful infiltration. The map’s genius lies in its balance; it doesn’t rely on the complex verticality of Vertigo or the multi-level intricacies of Nuke. Instead, it offers a classic, symmetrical experience where team strategy and individual aim are paramount.
The areas that see the most constant action are Mid, the Tunnels, the Side (or Long), and the two Bombsites. The longer sightlines, particularly those leading to Bombsite A, are natural hunting grounds for snipers. In contrast, the tighter confines of the tunnels and the approach to Bombsite B are generally less favored for AWP players due to close-quarters risks.
Conquering Bombsite A: An Open Arena for Snipers
Bombsite A is a sprawling, open-spaced area with limited natural cover. This makes it a sniper's paradise, fundamentally shaping how both Terrorists (T) and Counter-Terrorists (CT) contest the site.
For the Defenders (CT Side):
- A CT sniper can set up at the back of the bombsite, using the distance to slow down and pick off advancing Terrorists before they can secure a plant.
- Control of this area is crucial. If the Terrorists overwhelm the site, falling back through the lower pathway that connects to CT Spawn is extremely dangerous. This corridor is often a sniper's target range, and enemies can corner you from multiple angles, leaving you vulnerable. Avoid it if the site is lost.
For the Attackers (T Side):
- Terrorists can also leverage sniper rifles effectively. A T sniper positioned on the ramp near the side doors can maintain eyes on a planted C4, even from a safe distance, denying easy defuses.
- Using Cover: The "ramp" near the site isn't just for movement. Players with rifles can use it as dynamic cover, darting in and out to engage enemies while minimizing exposure.
- A Crucial Utility Tip: To counter enemy snipers holding the long angles into Bombsite A, smoke grenades are your best friend. Throwing smokes along these long paths significantly decreases the chance of being picked off during an approach or while defending the bomb plant.
General Tactical Notes for Dust II
- Approach with Caution: Both teams will naturally approach Bombsite A with a degree of caution due to its exposed nature. Expect pre-aimed duels and utilize flashes to gain entry.
- The Balance Factor: While the map is famed for its balance, its straightforward layout means there aren't many "gimmicks." Success hinges on understanding common angles, mastering smoke and flash lineups, and executing coordinated team plays.
- Context is Key: Remember that strategies for Dust II can evolve with game updates and meta shifts. Always cross-reference established guides with your own in-game experience and current community trends for the most effective tactics.
Summary & Key Takeaways
- Dust II is the Benchmark: It's a popular, well-balanced bomb defusal map defined by clear pathways and high-traffic zones like Mid, Tunnels, and the Bombsites.
- Bombsite A is Sniper-Friendly: The site's open design favors long-range weapons. CTs can lock down the area from the back, while Ts can guard the bomb from the side ramp after planting.
- Use Utility Strategically: Smoke grenades are essential for blocking the long sightlines into Bombsite A, providing cover for your team's movements.
- Avoid the Lower Pathway Retake: If you lose Bombsite A, do not retreat through the lower pathway to CT Spawn. It's a death trap with little cover and multiple angles of attack.
- Master the Fundamentals: Dust II rewards strong gunplay, map knowledge, and utility usage over complex gimmicks. Practice your smokes and learn the common engagement angles.