Molotov
The Molotov is one of the most powerful tools in a Terrorist's arsenal in Counter-Strike 2. More than just a simple grenade, it's a fiery instrument of control, capable of shaping the flow of a round by denying space, forcing enemies out of position, and securing critical plants. Understanding its mechanics and tactical applications is key to elevating your gameplay. This guide will break down everything you need to know about wielding fire effectively.
What is the Molotov? An Overview
In CS2, the Molotov Cocktail is an exclusive grenade available only to the Terrorist team. It serves as the counterpart to the Counter-Terrorist's Incendiary Grenade. According to the official description, it is "a powerful and unpredictable area denial weapon that bursts into flames when thrown on the ground, injuring any player in its radius."
The weapon's in-game roots are based on real-world history. Molotov Cocktails are a type of homemade incendiary weapon, famously associated with Finnish forces during World War II. The name itself was an insult directed at Soviet foreign minister Vyacheslav Molotov. A typical Molotov consists of a glass bottle filled with a flammable liquid and a lit rag for ignition. The in-game version functions on the same principle of the fire triangle—fuel, heat, and oxygen—creating a spreading flame upon impact.
Core Mechanics and In-Game Properties
Before you can master the Molotov, you need to understand its fundamental properties in CS2.
- Cost: It is the most expensive grenade on the Terrorist side, priced at $400. This significant investment means you need to use it wisely to get full value.
- Team Exclusive: Only Terrorists can purchase the Molotov. Counter-Terrorists have their own version, the Incendiary Grenade.
- Ignition and Spread: When thrown, the bottle shatters upon hitting a walkable surface that is 30 degrees or less from horizontal. This releases the flammable liquid and creates a pool of fire.
- Damage: The source material does not specify exact damage per second. Players are advised to check in-game for the most current stats, as these can vary with game updates and patches.
Primary Tactical Uses
The true value of the Molotov lies not in its raw damage, but in the tactical pressure it applies. Its flames create a zone of control that opponents must respect or suffer the consequences.
Area Denial and Map Control
This is the Molotov's most classic and vital role. By throwing it into a key area, you temporarily deny that space to the enemy team.
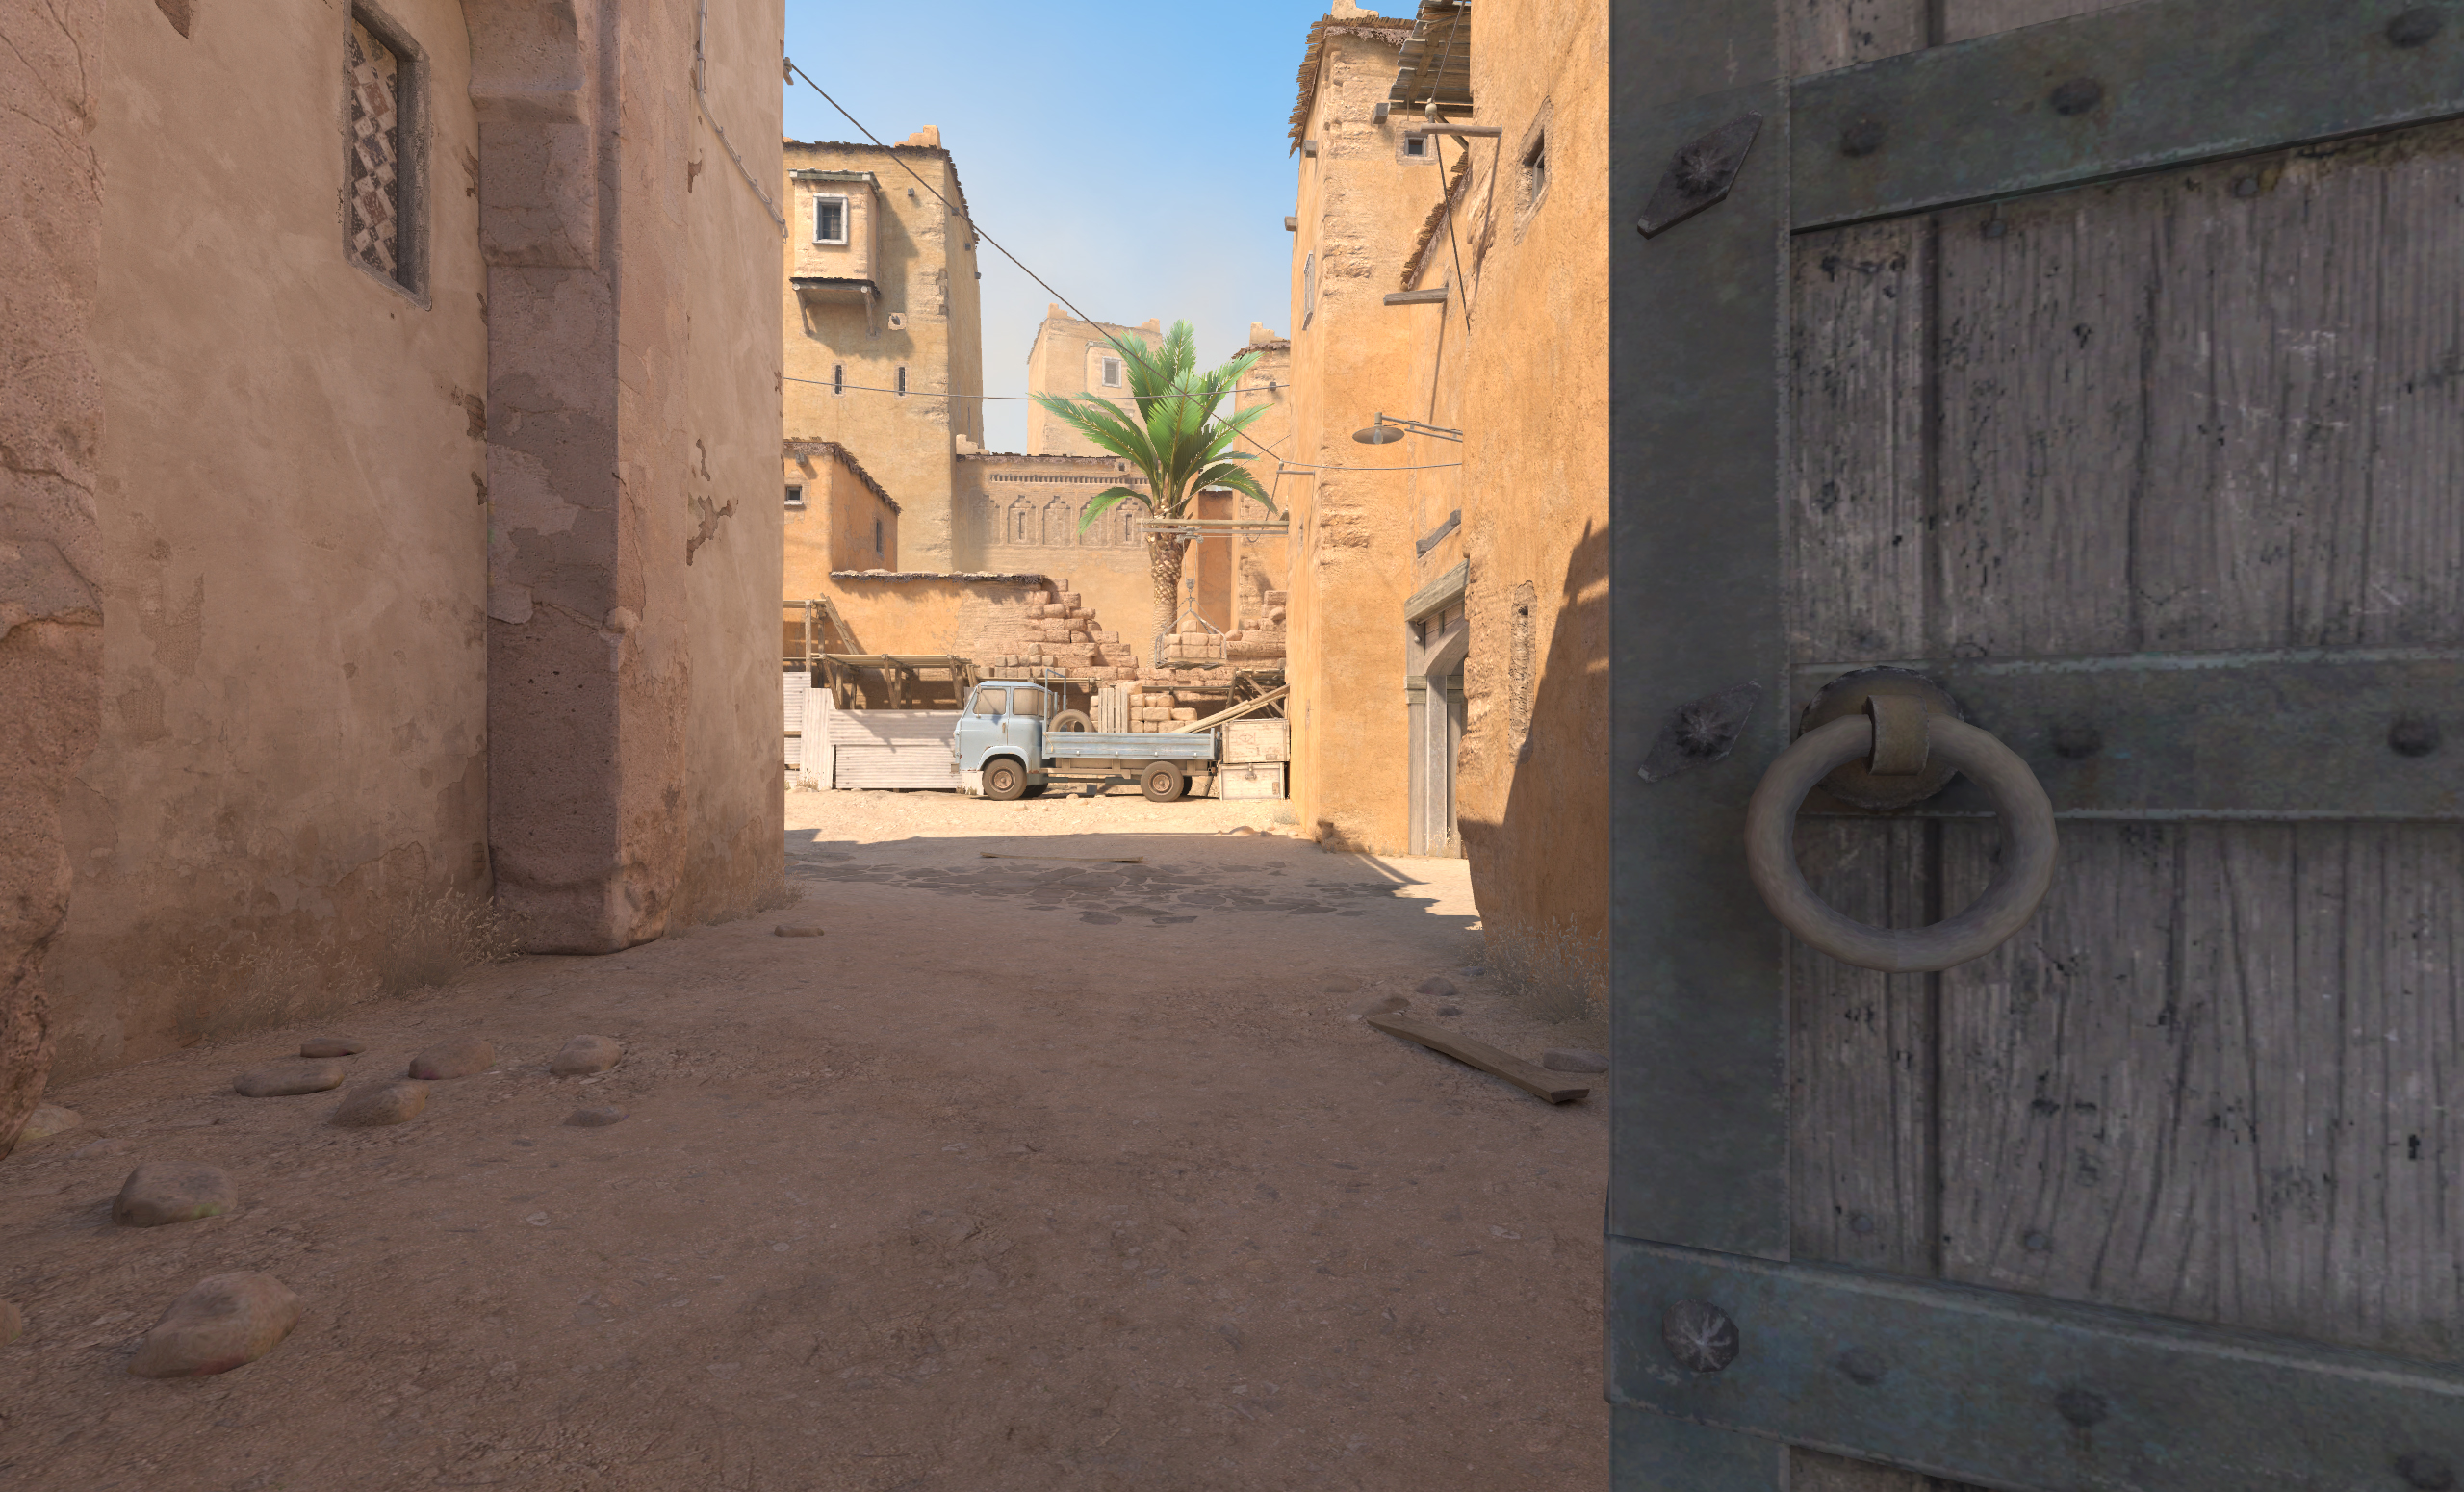
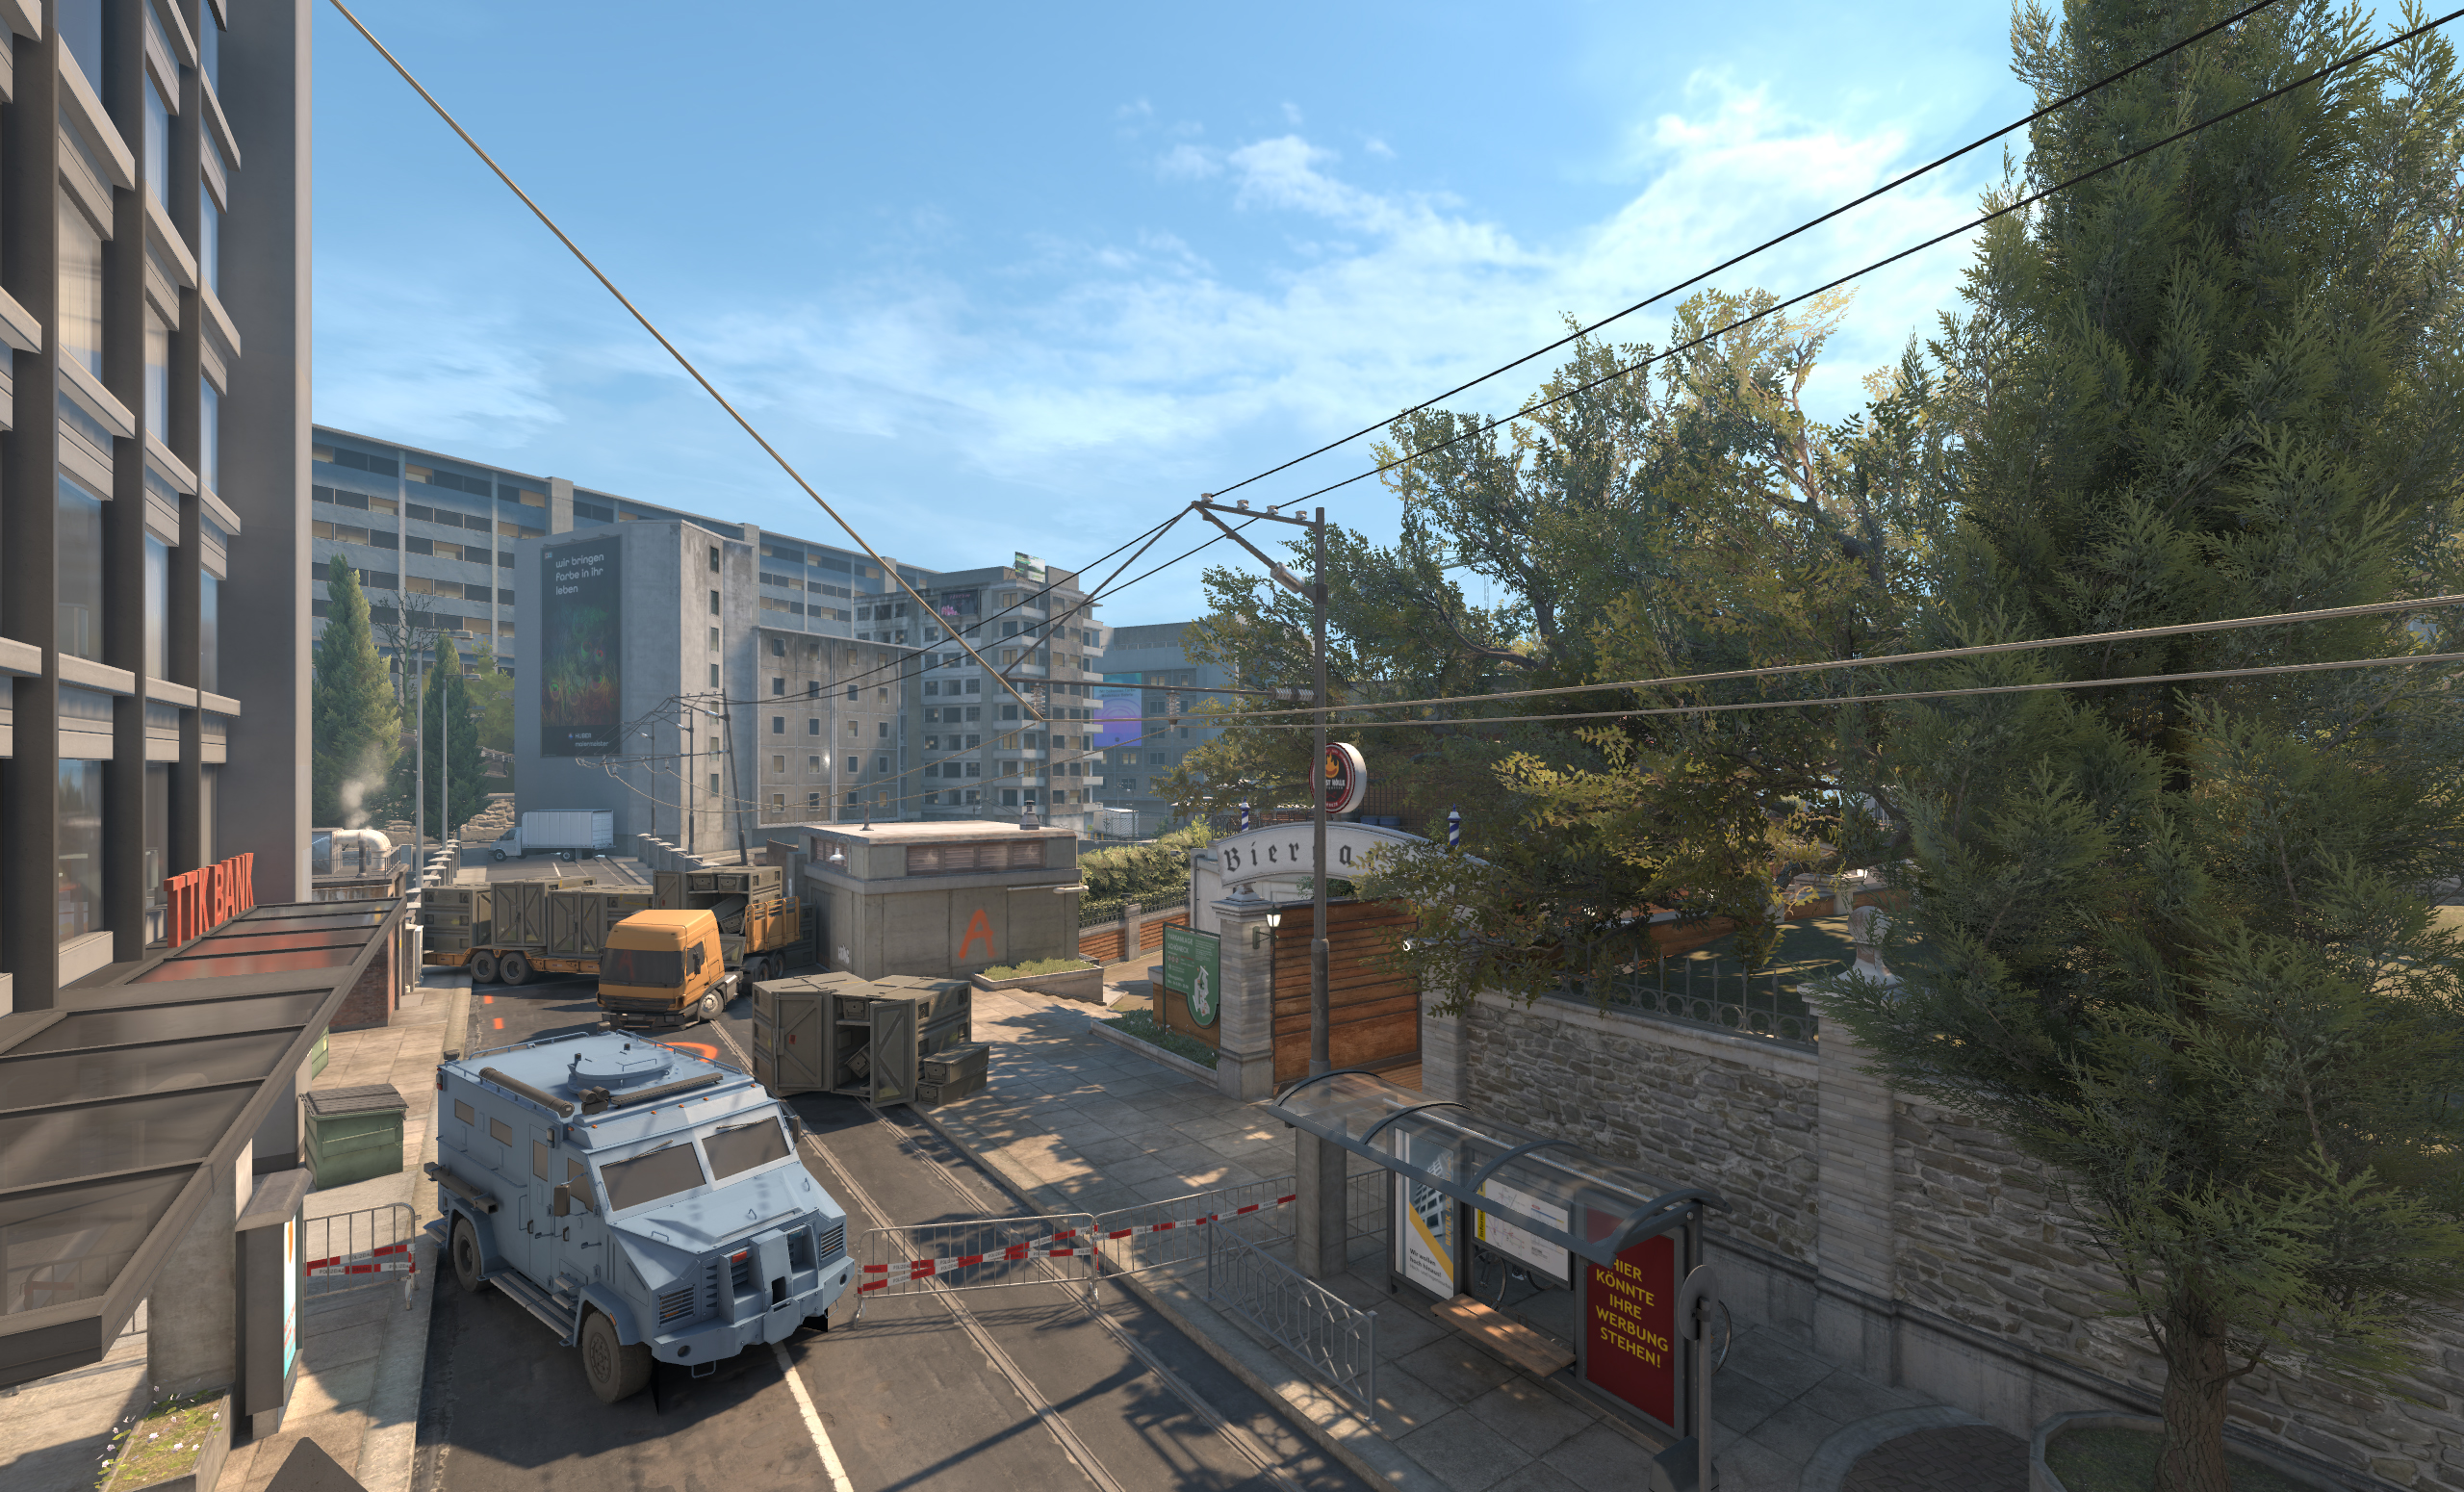
- Blocking Chokes: Throw a Molotov into a narrow doorway or hallway (like Mirage's B Apartments or Inferno's Banana) to stop a rush in its tracks. Enemies either have to wait for the flames to die out or take damage pushing through.
- Securing Plants: Once the C4 is planted, a well-placed Molotov on top of or near the bomb is a CT's nightmare. It makes the defusal process incredibly risky, as the defusing player will be burned and potentially killed.
- Protecting Hostages: In hostage rescue maps, throwing a Molotov near the hostages can deter CTs from making a quick rescue attempt.
Flushing Out Enemies
The Molotov is an excellent tool for removing entrenched opponents from their hiding spots.
- Forcing Movement: If you know an enemy is hiding in a corner, behind a box, or in a common off-angle, throwing a Molotov directly at that position forces them to move. They must either run out into your crosshair or stay and burn. This eliminates the enemy's advantage of surprise and predictable positioning.
- Clearing Angles: Before entering a site, using a Molotov to clear a difficult angle (like behind Mirage's Triple Stack or Inferno's Coffin) is safer than peeking blindly.
Economic and Psychological Warfare
The Molotov's impact extends beyond immediate physical damage.
- Economic Drain: Forcing an enemy to move out of position can sometimes lead to a kill, and even if it doesn't, it can deal significant damage, requiring them to use a kit or spend money on health in future rounds.
- Mental Pressure: The sound and visual of a Molotov landing can create panic and disrupt an enemy team's coordination. It's a constant threat that defenders must always be aware of.
Key Considerations and Potential Drawbacks
While powerful, the Molotov is not without its risks and limitations.
- High Cost: At $400, buying a Molotov can significantly impact your economy, especially if your team is saving. It's an investment that needs to pay off.
- Friendly Fire: The flames will damage and kill your teammates just as easily as your enemies. Precise communication is essential when using it, especially near teammates or during chaotic retakes.
- Unpredictability: As noted in the official description, the area denial can be "unpredictable." The fire's spread can sometimes behave in ways you don't fully expect, potentially blocking your own team's path or failing to cover a spot completely.
- Counterplay: Savvy opponents can sometimes jump over the flames or quickly run through them to avoid maximum damage, especially if they are using certain movement techniques. A single Molotov alone often isn't a guaranteed kill.
Summary and Key Takeaways
The Molotov is a cornerstone of Terrorist strategy in CS2, offering far more utility than simple fragging power. To use it effectively, remember these points:
- It's a $400 Investment: Use it purposefully. Don't throw it randomly.
- Primary Purpose is Area Denial: Its main function is to control space, block rushes, and secure post-plant situations.
- Secondary Purpose is Flushing: It's a superb tool for forcing enemies out of hiding spots and clearing angles.
- Respect Friendly Fire: Communicate with your team to avoid burning your own players.
- Combine with Other Utility: A Molotov is most effective when used in conjunction with smokes and flashbangs. For example, smoke off a long sightline and molly a close corner.
- Practice Your Lineups: Knowing specific, consistent throwing angles (lineups) for common maps will dramatically increase your effectiveness and efficiency.
Mastering the Molotov is about mastering control. It’s a tool that rewards smart, strategic play and can be the difference between a successful site execute and a failed rush. Use it to paint the map with pressure and watch your win rate climb.